Solution:
User wants to add other columns to their view in an Outlook folder.
Make sure you’re in the desired folder and right-click on the header that appears above the message list Select “Field Chooser”.
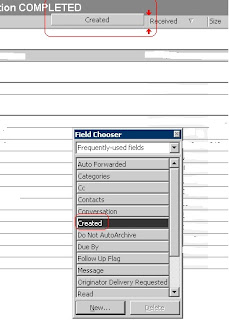
This will bring you to the Field Chooser.
Select the desired field and drag it to toward the place in the header that you would like this column to appear. As you do so, the column will follow the mouse. Red arrows will indicate the columns between which the new column will appear. As you move your mouse across the header you can position it specifically between two existing columns. Alternatively, you can place it at the end or the beginning of the columns.
When you’re satisfied where you want it placed, simply drop (let go) of the new column and it will snap into place.
Close the Field Chooser.


0 comments:
Post a Comment